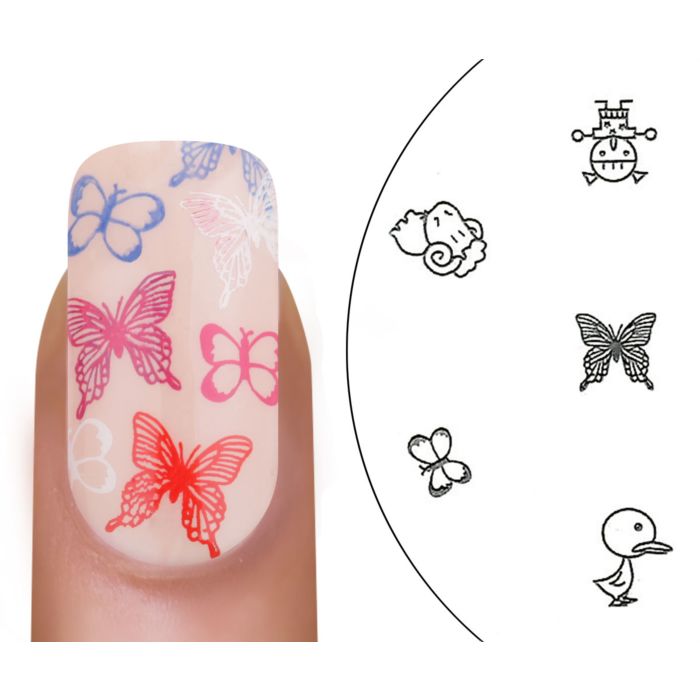
Summery designs with nail stamping technique
Spring is here and it's time to immerse our nails in a vibrant and enchanting design. A nail design that reflects the beauty of the season. The nail stamping technique opens up a world of creative possibilities for us to create impressive and stylish nail art even in the comfort of our own homes.
In today's blog post, we'll lovingly guide you step by step through the process of creating mesmerizing spring nail designs using the nail stamping technique. Follow us into the multifaceted and colorful world of nail stamping!
The secret behind the nail stamping technique
You may be wondering what the secret behind the nail stamping technique is. The answer is very simple: this enchanting technique allows you to conjure up breathtaking patterns and motifs on your nails using sophisticated Konad stencils - also known as "plates" - and a skillful stamp. All you need is
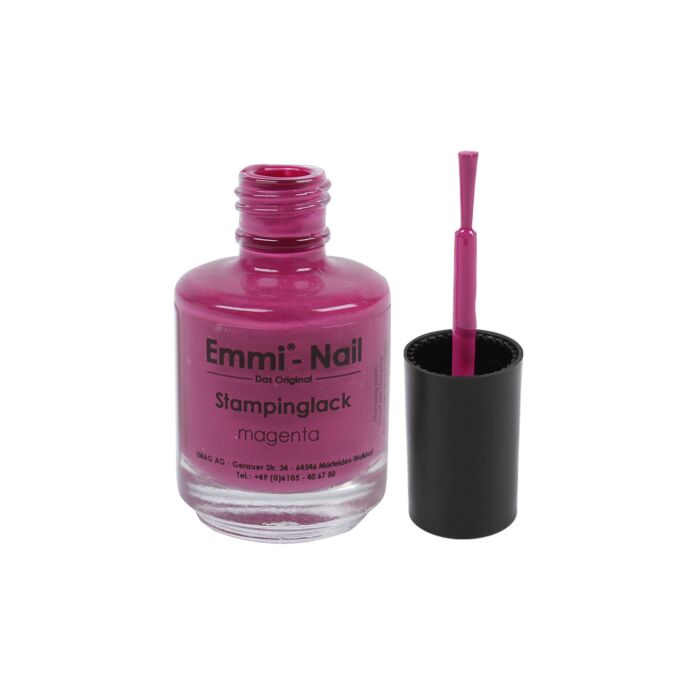
- special, intensely pigmented nail polish,
- the plates
- and the stamp itself.
Once you have these three essential elements together, the door opens to a world of beautiful nail designs!


Step-by-step instructions
- Preparation: First, you should prepare your nails. File them into the desired shape and apply a base coat or nail polish so that the polish adheres better and your nails are protected. Stamping also lasts wonderfully on a nail model. Simply stamp on just before sealing.
- Motif selection and stencil cleaning: Now choose a suitable spring-like or even summery design on your stamping plate. Make sure the plate is clean before you start. You can clean it with nail polish remover or an adhesive foil.
- Nail polish application and stamping: Apply the special stamping nail polish to the chosen design on the plate. Then use the scraper to remove excess nail polish and press the pattern into the nail polish. Now press the stamp onto the pattern to pick it up and carefully transfer it to your nail. Repeat this process for all nails.
- Sealing: Finally, you should apply a high-quality top coat to seal the design and make it last longer.
Tips and tricks for the perfect summer nail stamping design
The following tips and tricks will help you hone your skills and create unique, stunning nail designs that reflect the sunny season.
- Always use special stamping nail polishes that are characterized by high pigmentation. Normal nail polishes usually do not have the necessary pigmentation to achieve optimal results when stamping.
- Time is the key to success with nail stamping. As the nail polish dries quickly, it is important to work quickly and skillfully to ensure that the stamping works smoothly and a flawless design is created.
- Be bold and experiment with a variety of colors, motifs and textures to create your individual spring-summer design. This is the moment to let your creativity run wild and bring the beauty of summer to life on your nails.
- Practice using stamps and stencils on a piece of paper or a practice mat before stamping directly onto your nails. This way, you can ensure that you have mastered the technique and won't leave any unintentional mistakes on your nails.
- Clean your stamps, stencils and other tools thoroughly after each use. This not only ensures their longevity, but also makes it easier to apply clean, clear designs in future nail art projects.
With these valuable tips and practical advice, you can take your nail stamping to a whole new level and create varied, stylish and trendy designs. Have fun trying out and perfecting your nail art skills!


