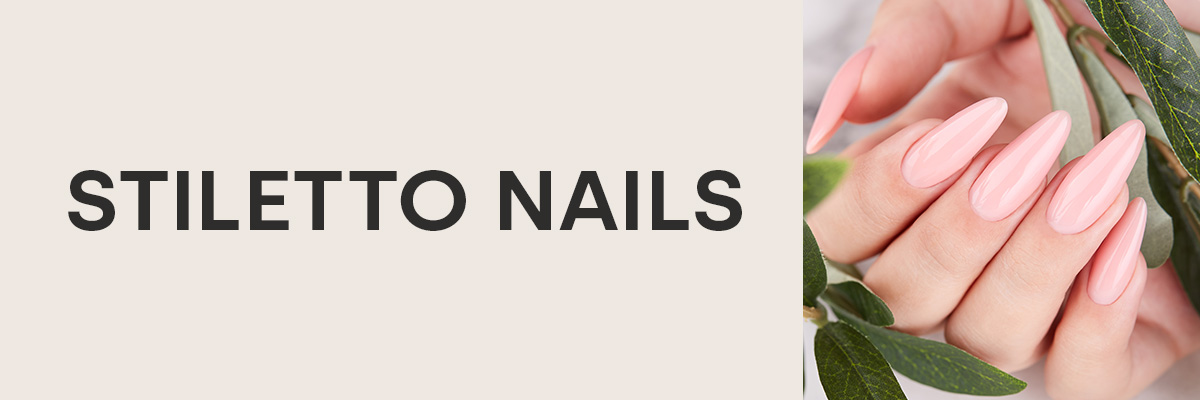
Stiletto Nails


They are the high heels of nails - stiletto nails. With this nail shape, you are guaranteed to attract everyone's attention. And stilettos look incredibly feminine. Because stiletto nails combine elegance with extravagance. The prerequisite for a convincing result with stiletto nails is a nail extension, which is a challenge for any nail designer. You can find out how to create long, pointed nails yourself in our guide, as well as everything you need to know about stiletto nails. For example, who this nail shape is particularly suitable for.
What are stiletto nails?
Stiletto nails are a particularly extravagant nail shape: The fingernails typically extend at least three centimetres beyond the fingertip and are pointed upwards. Real stiletto nails therefore require nail extensions . The perfect beauty trend for all nail fashionistas who want to create an exciting nail design.
Because this much nail leaves plenty of room for exciting nail art, but looks breathtaking even as a full cover in black or red. These nails already make an impact with their shape and sensational length.
Successful stiletto nails with emmi®-nail
For beginners, this nail shape is less suitable for self-modeling. This is because the extravagant fingernails require a lot of experience and - in the truest sense of the word - dexterity to make them a success. Natural nails can hardly be filed into this ultra-long nail shape. But stilettos are perfect for nail sculpting with gel.
The template technique is ideal for nail extensions. But stilettos can also be modeled with tips. From emmi®-nail you will find both ready-made stencils and tips that define the shape of the nails.
Glitter, patterns with acrylic paints or nail tattoos: there are virtually no limits to the nail art you can create with stiletto nails. Anything you like goes as a nail design! From colors to effects, you can let your imagination run wild. The nail art products you need for this can of course be found in the emmi®-nail online store as usual.
Step by step to stiletto nails: instructions
Do you want to give your fingernails an extravagant shape? Here we explain step by step how to achieve this with the stencil technique and pinching.
- Preparation
As with any acrylic or gel nail design, stiletto nails also require appropriate preparation. So prepare your nails for the nail design as usual. First, carefully push back the cuticles and buffer the nail surface. Apply a primer to the nails so that the nail design adheres better to the natural nail. - Priming gel
Once the nails are prepared for the stiletto modeling, apply a priming gel and cure the nails under the UV lamp. - Stencil
Now you need the stencil from the emmi®-nail Stiletto stencil roller. Adjust the stencil to the prepared nail and cut it to size if necessary. Make sure that it fits perfectly on the nail and that there are no gaps. Important: For perfect stiletto nails, the template should be centered. To achieve this, the side lines of the template must run parallel to the nail. -
Build-up gel
Now apply the build-up gel, first to the nail and then to the template. Allow the nails to harden under the UV lamp after application.Tip: Apply another layer of build-up gel to give the nails more hold. Then cure again.
- Pinching
The stiletto stencils can now be removed from the nail. Caution is required here. The nails can then be pinched with pinch tweezers if required. To do this, apply the pinch clamp and cure under the UV lamp. Once the stiletto nails have hardened, remove the pinch clamp again. - Filing
Now the Stiletto Nail gets its finishing touches. File the nails until the desired shape is achieved. Re-filing is particularly important for stilettos. This is because any unevenness is immediately noticeable on this length. You should therefore be particularly careful when smoothing out any unevenness with the file and avoid creating edges in the nails. -
Seal
Next, color comes into play. Colors, glitter or anything else you like: The nail art is guaranteed to be the center of attention on the long, pointed stiletto nails.Finally, give the stiletto nails a finish of your choice with one of the emmi®-nail sealing gels. Allow the nails to harden, remove the sweat layer with cleaner - done.
How long does a nail enhancement last?
The product determines how long a natural nail enhancement with gel lasts. UV nail polishes last up to three weeks and can be removed with remover. Conventional gel nails can be refilled after two to three weeks and in principle reinforce the nail indefinitely until the gel is filed off. As the Nature series is a UV gel, it cannot simply be removed with a liquid. However, the reinforcement looks so natural that you can simply let it grow out as required.
The modeling is very stable and the gels are still easy to file. Nature gels are also ideal for refilling gel nails that have grown out. Our range of nail gels in a bottle includes a base gel, three colored build-up gels and a sealing gel.
Our range of natural nail gels
Our new emmi®NAIL Nature gels in the practical brush bottle are perfect for giving natural nail enhancements a natural look. Thanks to their simple, quick and clean application, they make everyday studio work easier and can also be used at home. You have a brush at hand for each gel, which is protected from dirt, dust and UV radiation in the bottle.
With emmi®Nail, you benefit from many years of experience that has gone into the development of our professional nail design products. The natural nail gel has a beautiful coloration and convinces all customers who love the natural look. If you would like to enhance your natural nails with gel, you can now conveniently order on account in our online store.


